Why Start Your Silversmithing Journey with a Simple Band Ring
Creating a simple silver band ring represents the perfect beginner silversmithing project for adults ready to explore this ancient craft. This fundamental project introduces you to essential metalworking techniques including measuring, cutting, filing, soldering, and finishing—skills that form the foundation of all advanced silversmithing work. Unlike complex jewelry projects that require specialized equipment and years of experience, a basic band ring uses minimal tools and materials while delivering satisfying, wearable results. The process typically takes 3-4 hours, making it ideal for a weekend workshop or evening crafting session.
Folk schools throughout Vermont and New England have taught this exact project to thousands of students over decades, recognizing its value as both a learning tool and confidence builder. The techniques you’ll practice—from accurate measuring to proper torch handling—directly transfer to more complex projects like pendants, earrings, and elaborate statement pieces. Many professional silversmiths trace their passion back to creating their first simple band, experiencing that magical moment when raw silver transforms into finished jewelry through their own hands. This project requires no previous metalworking experience, just patience, attention to detail, and willingness to learn traditional craftsmanship techniques.
Essential Tools and Materials for Your Beginner Silversmithing Project
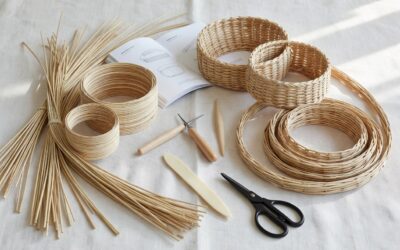
Success in silversmithing depends on having quality tools and materials from the start. For this beginner silversmithing project, you’ll need a basic tool kit including a jeweler’s saw with 2/0 blades, metal files (half-round and flat), a steel bench block, rawhide mallet, flux, silver solder, and a small torch suitable for jewelry work. Purchase sterling silver sheet metal in 16-gauge thickness, which provides enough substance for durability while remaining workable for beginners. A ring mandrel helps achieve proper sizing, while safety equipment including safety glasses and ventilation ensures safe working conditions.
Quality tools make an enormous difference in both your learning experience and final results. Cheap tools frustrate beginners with poor performance and can actually make techniques harder to learn correctly. Invest in mid-range tools from reputable jewelry supply companies rather than bargain alternatives that break easily or perform poorly. Many Vermont craft schools recommend starting with a basic silversmithing kit that includes essential tools in a organized case, then adding specialized tools as your skills develop. Proper lighting at your workspace prevents eye strain during detailed work, while a comfortable chair supports long crafting sessions.
Selecting the Right Silver for Your First Ring
Sterling silver (92.5% pure silver) provides the ideal material for beginner projects due to its workability, durability, and availability. Fine silver (99.9% pure) works too easily and lacks strength for everyday wear, while silver-filled materials require different techniques better suited to intermediate makers. Purchase silver sheet from established suppliers who guarantee metal quality and provide proper documentation. For a standard adult ring, you’ll need approximately 1 inch by 4 inches of 16-gauge sterling silver sheet, though exact dimensions depend on desired ring width and finger size. Calculate material needs carefully to minimize waste, as silver represents your largest project expense.
Step-by-Step Ring Construction Process
Begin your beginner silversmithing project by accurately measuring the intended finger using a ring sizer or existing ring that fits properly. Add 1.5-2mm to this measurement to account for the metal thickness after forming—this crucial step prevents ending up with a ring that’s too small. Mark your silver sheet using a ruler and scribe, creating a rectangle whose length equals your calculated measurement plus solder overlap. Width determines your final ring band width; 4-6mm works well for most adult hands. Use steady, confident strokes when marking, as unclear lines lead to cutting errors that waste expensive materials.
Cutting silver requires patience and proper technique to achieve clean, straight edges. Secure your marked silver sheet to your bench pin using clamps or tape, ensuring the cutting line extends slightly beyond the pin edge. Install a fresh 2/0 blade in your jeweler’s saw, maintaining proper tension—the blade should ping when plucked lightly. Begin cutting with gentle, vertical strokes, letting the blade do the work rather than forcing it through the metal. Maintain consistent rhythm and pressure, keeping the blade perpendicular to the metal surface. Rushed cutting creates rough edges that require extensive filing to correct.
Filing and Shaping Your Silver Strip
After cutting, your silver strip requires careful filing to create smooth, straight edges essential for proper soldering. Begin with a coarse file to remove major irregularities, then progress to finer files for finishing. File in one direction only, lifting the file on the return stroke to prevent dulling the cutting teeth. Check your progress frequently with a ruler to ensure straight edges and consistent width throughout the strip length. Pay special attention to the ends where your solder joint will form—these must be perfectly straight and square for invisible seam creation. Proper filing technique develops gradually, so take your time and focus on consistency rather than speed.
Forming and Soldering Your Ring Band
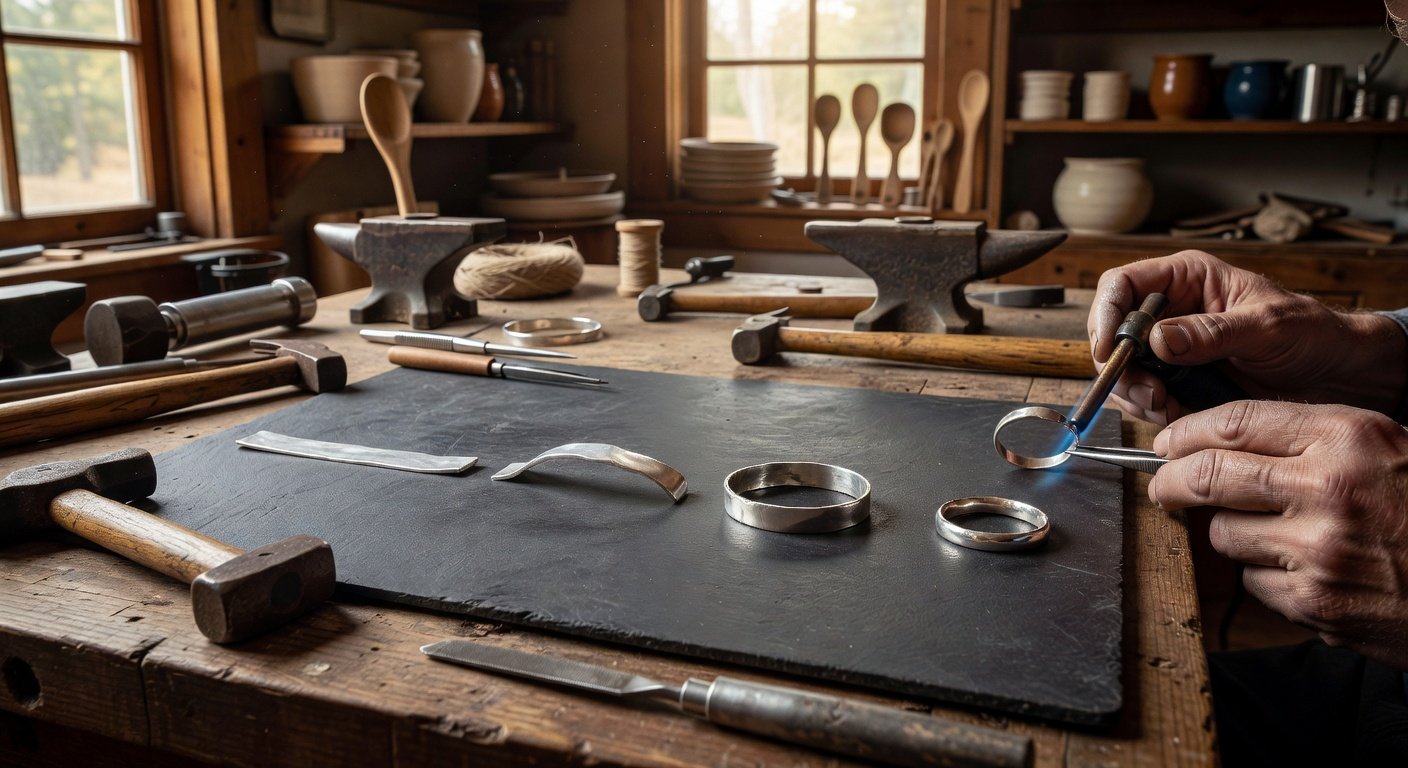
Forming your silver strip into a circular band requires gradual, controlled bending to prevent kinking or cracking. Begin by gently curving the strip around a dowel or mandrel, working slowly from one end to the other. Avoid forcing sharp bends that create stress points in the metal. The goal is achieving a smooth curve with ends that meet perfectly without gaps or overlaps. Use your rawhide mallet to refine the shape, tapping gently while supporting the metal on your bench block. Check fit frequently by sliding the forming ring onto your mandrel at the appropriate size marking.
Soldering represents the most challenging aspect of this beginner silversmithing project, requiring coordination of heat, timing, and material placement. Clean both ends of your ring thoroughly with fine sandpaper or steel wool to remove any oxidation or oils that prevent proper solder flow. Apply flux to the joint area, then position a small piece of silver solder directly on the seam. Heat the entire ring gradually with your torch, moving the flame constantly to ensure even heating. Watch for the flux to become clear and the solder to flow—this happens quickly once the correct temperature is reached. Remove heat immediately when solder flows to prevent overheating that can damage your work.
Sizing and Final Shaping on the Ring Mandrel
After successful soldering, your ring requires final sizing and shaping to achieve proper fit and appearance. Allow the ring to cool completely before handling, then clean off any flux residue with warm soapy water. Place the ring on your mandrel at the desired size and gently tap with your rawhide mallet to achieve perfect roundness. Work gradually around the circumference, checking size frequently to avoid oversizing. The metal will stretch slightly during this process, so approach your target size carefully. If the ring becomes too large, you’ll need to remove material and re-solder—a more complex process best avoided through careful attention during shaping.
Finishing Techniques for Professional Results
Professional finishing transforms your basic ring into jewelry worthy of daily wear. Begin with progressively finer sandpaper, starting with 220-grit to remove file marks and soldering scale, then progressing through 400, 600, and 800-grit papers. Sand in one direction initially, then switch directions with each grit change to eliminate scratches from the previous paper. This systematic approach ensures smooth, even surfaces free from visible tool marks. Pay special attention to the solder joint area, which often requires extra work to blend seamlessly with the surrounding metal.
Final polishing brings out silver’s natural luster and creates the mirror finish associated with quality jewelry. Use polishing compound on a soft cloth or felt wheel, working in small circular motions across the entire ring surface. Tripoli compound removes fine scratches, while rouge creates the final high polish. Clean thoroughly between polishing stages to prevent contamination that causes scratching. The polishing process requires patience—rushing creates uneven surfaces and visible polishing marks that detract from your finished piece. Proper finishing techniques separate amateur work from professional-quality results.

Surface Texture Options for Unique Character
While high polish creates classic appeal, alternative surface textures add unique character to your beginner silversmithing project. Brushed finishes created with fine steel wool or abrasive pads provide subtle texture that hides minor scratches while maintaining sophisticated appearance. Hammered textures applied with ball-peen hammers create organic, handcrafted appeal popular in contemporary jewelry design. Experiment on practice pieces before texturing your finished ring, as some texture techniques cannot be easily reversed. Each surface treatment requires specific tools and techniques, expanding your silversmithing skill set for future projects.
Frequently Asked Questions
How long does a beginner silversmithing project like this ring take to complete?
A simple silver band ring typically takes 3-4 hours for beginners, including cutting, filing, forming, soldering, and finishing. Allow extra time for your first attempt as you learn proper techniques and tool handling.
What’s the approximate cost for materials and tools for this project?
Basic tools cost $150-250 for a starter kit, while silver material for one ring costs $15-25 depending on size and current silver prices. Tools are a one-time investment for multiple projects.
Can I complete this project without previous metalworking experience?
Yes, this project is specifically designed for complete beginners. The techniques are fundamental and forgiving, though patience and attention to detail are essential for good results.
What safety precautions should I take when silversmithing?
Always wear safety glasses, ensure proper ventilation when soldering, keep a fire extinguisher nearby, and work on a stable surface. Never touch hot metal and allow pieces to cool completely before handling.
How do I know if my solder joint is strong enough?
A proper solder joint shows no visible seam line and the solder flows completely across the joint. The connection should be as strong as the surrounding metal when done correctly.
Ready to Start Your Silversmithing Journey?
This simple ring project opens the door to a lifelong craft that connects you to centuries of metalworking tradition. Consider enrolling in a hands-on silversmithing workshop at a Vermont folk school where expert instructors guide you through these techniques in person, providing immediate feedback and troubleshooting support that accelerates your learning.